
A PV module maker website usually presents its products as a long spec table: power classes from 550W up to 620W, half cut layouts in 108, 120 or 144 cells, silver or black frames, glass backs and dual glass options stacked below. An overseas buyer opens that page and does one of two things. Either saves it for a long email exchange with a salesperson, or closes the tab and moves to the next supplier. A 3D product configurator changes this by letting the buyer assemble a system on screen, with parameters and pricing visible while choosing.
How do you build a solar configurator that actually sells? This walkthrough follows the order real projects move in. The machinery version was covered in an earlier article (how machinery makers build a 3D configurator), and the skeleton is similar. What differs in photovoltaics is the electrical line that connects every choice.
Write the selection logic before modeling anything
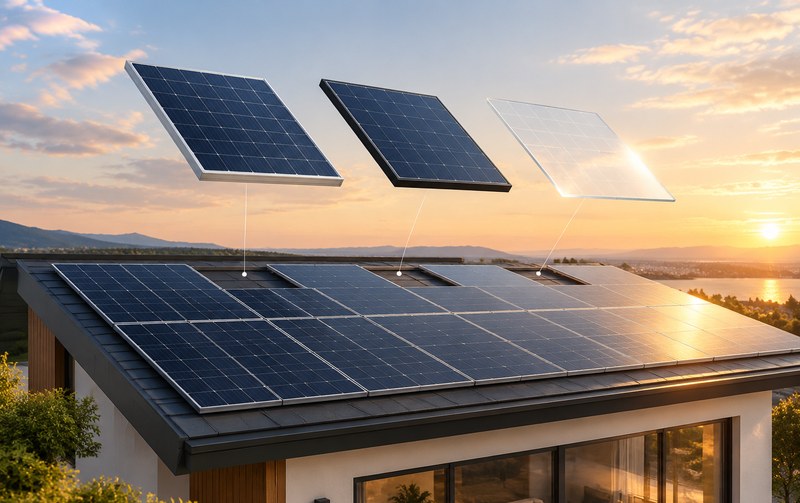
Projects stall at this step more often than at any technical one. Before a single model is built, sit down with sales and engineering and go through the option dimensions one by one: power class, cell layout, frame color, glass type, mounting surface, grid tied or hybrid with storage. List the allowed values for each, then add the constraints. High power classes usually pair with dual glass only. Off grid systems require a storage inverter. Metal roof mounting allows only small tilt adjustments. If these rules stay vague, buyers will assemble systems no factory can ship.
On the technical side each rule becomes a simple condition. The costly mistake is mixed language between departments: sales says a combination works, the engineering sheet lists it as forbidden. A week spent aligning these rules saves a month of rework later. That discipline is what separates a usable PV configurator from a demo.
Modeling: one high quality asset, several variants
Nobody models every SKU separately. The practical approach builds one detailed module model and handles variants through materials and geometry switches. Frame color is a texture swap. Dual glass is a transparency parameter. Cell layouts are geometric variants. Racking and inverters are separate modules attached on demand. Keep the polycount of a single module tight so the whole scene stays fluid while the buyer drags and rotates.
Mounting environments such as rooftops, ground arrays and carports work well as switchable base scenes. When a buyer configures on something that resembles his own roof, the intent to submit an inquiry rises noticeably. Whether a solar panel configurator needs a full utility scale scene depends on your sales model. Retail and distribution rarely needs it; project development is a different product with a different budget.
Parameter linkage and pricing: the two numbers buyers care about
Once configuration is complete, the page should show two groups of figures immediately. Technical output: total wattage, module count, roof area used, an estimated annual generation range. And money. Pricing linkage keeps a cost delta in the backend for every option, so the total refreshes with each switch. Some clients prefer to show only a reference price and deliver a formal quote after the inquiry. The generation estimate carries real weight with overseas buyers. A range across a few irradiance classes is enough, and honesty about the spread reads better than fake precision.
One tradeoff deserves a decision before launch: full price transparency exposes channel margins, while hiding all pricing frustrates buyers. The middle path works for most. Standard combinations show reference prices, custom combinations route to inquiry.
What to check before going live
Test on real devices. Watch how variant switching feels on a phone, whether loading passes eight seconds, and whether the parameter table stays readable on a narrow screen. On the backend, prices and options must be editable by sales staff alone, because a configurator that needs a developer for every price change turns into a list of stale numbers within a quarter. Place the inquiry button early in the flow as well. A buyer who can send questions halfway through will, and one forced to finish every step sometimes just leaves.
Finished configurators from other industries are a useful reference for scale and interaction depth, and the case gallery shows several (website case gallery). PV product lines refresh quickly, so budget for at least two update rounds in the first year. That line item pays for itself.
Related Q&A
Does a solar configurator need a utility scale 3D scene?
Not for retail or distribution. Module level configuration with a simple mounting scene covers those buyers and keeps development and loading costs low. Full plant layout is a separate product aimed at project developers, with a budget an order of magnitude higher.
How close is the configurator price to the real deal?
It depends on how often the price library is maintained. With accurate cost deltas per option, reference prices can stay within a narrow band of final quotes. A common policy shows reference prices for standard builds and routes custom builds to inquiry, keeping transparency without giving away the whole margin structure.
How long does a PV configurator take from start to launch?
For a project with clear selection rules and modeling from scratch, six to ten weeks is typical, and rule definition takes about a third of that. Starting before the rules are settled is the most common cause of delay.