
A 3D product display, put simply, turns your product into a 3D model that visitors can drag and spin right on the web page — no plugins needed. What stages does such a project go through, and what should be checked at each one? This article walks the real project flow in six steps; foreign-trade site owners and industrial brands can manage their projects against it.
Step 1: Prepare the source material
The modeler needs three things: high-resolution photos from multiple angles (front, side, rear plus 45-degree views, with detail close-ups as a bonus), dimension data (CAD drawings are ideal; an annotated three-view sketch also works), and material references (close-up photos or color codes for wood, metal, plastic surfaces). The more complete the material, the higher the model accuracy and the less rework. One easily missed point: photos should have even lighting and a clean background, otherwise the modeler spends double the time just correcting colors.
Step 2: 3D modeling
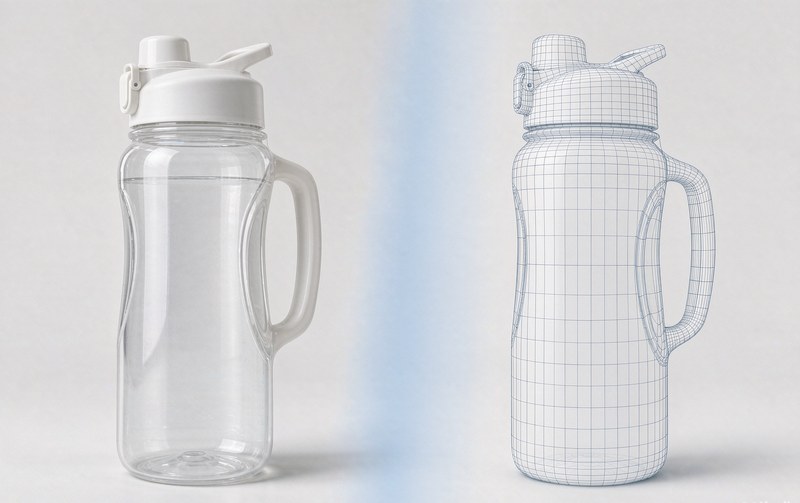
The product structure gets built in Blender or 3ds Max. Three acceptance checks: proportions against real dimensions, completeness of structure (decide before signing whether internal parts should be visible), and polygon budget (models for web 3D displays generally stay under 100k triangles; a regular product needs only 30k to 50k). Here is the most common beginner pitfall: set the unit to meters before export. Blender defaults to centimeters; skip that change and the model appears ten times too large on the page.
Step 3: Materials and textures
PBR materials are the current standard, making metal read as metal and matte as matte under real lighting. Texture resolution of 1K to 2K is enough, exported as JPG or WebP. One more detail: texture dimensions should be powers of two (1024, 2048); non-square textures simply fail to display in some browsers.
Step 4: Optimization and export
The standard format for web 3D displays is GLB; with Draco compression the file shrinks to roughly a tenth of its original size. Keep the final single file under 5MB, because past 10MB mobile devices start to stutter. The acceptance bar for this step is a single number: interactive within 3 seconds of opening the page.
Step 5: Interaction development
Interaction decides whether this thing brings inquiries. The baseline is rotation and zoom; above that come hotspot annotations, material and color switching, exploded views, and eventually a configurator. Before writing requirements, read our four-level framework (spinnable, explorable, playable, askable) to keep the scope tight.
Step 6: Launch testing and acceptance
Test across devices: Chrome, Safari and the WeChat in-app browser at minimum. Watch three numbers: first-screen load time, interaction frame rate (above 30fps feels smooth), and noticeable heating on phones. When in doubt, ask the vendor for a performance test report; it is part of a professional handover.
On timeline: a simple product with rotation only takes roughly 3 to 7 working days; industrial pieces with configurators or exploded animations, 10 to 20 working days is normal. Cost tracks polygon count and interaction complexity directly, so have both written into the quote to avoid later disputes.
To close, an acceptance checklist to send the vendor before signing: accurate proportions, polygon budget met, GLB with Draco, load under 3 seconds, frame rate above 30, units in meters, multi-device test report attached. All seven passed means the 3D product display is truly delivered. To see finished work first, browse our 3D interactive cases.